


Why Choose Xiangrui Switch Panel as Industrial Switch Panel for Limited Dashboards
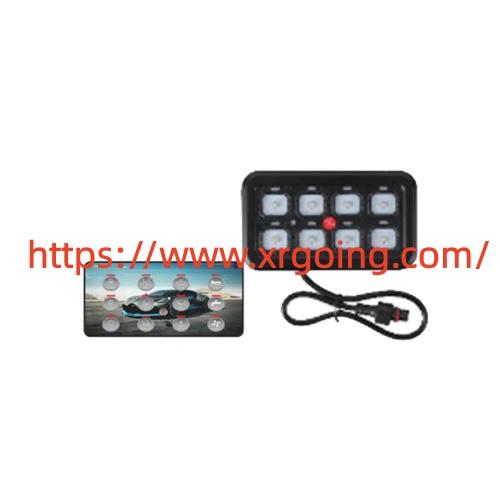
Switch Panel placement in restricted dashboard areas calls for precise measurement and thoughtful layout before any cutting or fastening begins. Limited space often appears around the helm or instrument cluster where multiple gauges and controls already compete for room. Start by mapping the available depth behind the surface along with the width and height of the cutout zone. Confirm that the chosen unit leaves clearance for wiring bends and any existing structural supports.
A compact Industrial Switch Panel design proves useful in these conditions because it consolidates several circuits into a smaller footprint. Select a unit whose overall dimensions match the measured opening with a modest margin for mounting flanges. Verify that the depth allows the rear terminals and any integrated breakers to sit clear of other components. Thin profile housings reduce the risk of interference with steering columns or nearby ducting.
Before cutting the surface mark the exact outline with a template or the unit itself. Double check alignment against surrounding instruments so the finished face sits level and centered. Use a suitable saw or router to create a clean opening and smooth the edges to prevent stress points. Dry fit the unit to confirm it seats evenly without forcing.
Wiring routes deserve equal attention in tight quarters. Plan the path of supply and load conductors so they enter the rear without sharp bends or excessive length that could bunch behind the unit. Group related circuits together and leave spare capacity for later additions if possible. Secure cables with clips or ties at regular intervals to keep them from shifting under vibration. Label each conductor at both ends to simplify future checks.
Mounting hardware should match the material of the dashboard surface. Through bolts or captive nuts provide firm attachment when the backing is solid. For thinner panels consider reinforcing plates that spread the load and prevent deformation. Tighten fasteners evenly in a cross pattern so the face remains flat. Avoid over tightening which can crack plastic housings or distort metal frames.
Lighting and labeling improve usability once the unit is in place. Illuminated controls help operators identify status at a glance even in low light. Clear legends or etched markings reduce the chance of selecting the wrong circuit during busy moments. Position the assembly so the operators hand can reach every control without stretching or obstructing the view of other instruments.
After physical installation test each circuit under load. Confirm that voltage remains stable and that protective devices trip only when intended. Listen for unusual sounds or feel for excessive heat at connection points. Address any irregularity before returning the vessel or vehicle to regular service.
Routine visual reviews after the first few outings help catch early signs of looseness or moisture intrusion. Wipe the face clean and inspect seals around the perimeter. These brief checks keep the installation performing as intended through changing conditions.
Xiangrui designs compact control units that address space constraints while supporting multiple circuit needs. The same approach appears across various configurations so users can match the unit to their specific layout requirements.
Owners who follow measured steps and careful routing often find the finished installation blends smoothly with existing instruments and remains accessible for later service. For durable options suited to restricted mounting zones visit https://www.xrgoing.com/ to review current configurations that fit common dashboard dimensions.

 English
 Arabic
 French
 Spanish
 Portuguese
 Deutsch
 Turkish
 Dutch
Dutch
 Italiano
 Russian
 Portuguese (Brazil)
 Greek
Greek
 Indonesia